Architraves, also known as doors encompasses are decorative moldings that are used mostly to define entryways and windows. Modern Architrave is installed by compromising at an angle that they then join one another to form often and with a straight edge. If your door jamb has been tilted or is hanging higher than it should, an appropriate edge might not be the best choice, therefore, take a look at our article on carpentry edges to reveal the best way to cut off the edges of the requirement to fit your jamb. In the long run architraves have developed into almost a work of art in certain areas. The timber merchant offers the finest architraves products.
The majority of architraves are constructed using one of three kinds of material such as softwood, hardwood, and medium thickness fiberboard (MDF). Other architrave materials that are more unusual comprise mortar PVC and elastic clay tile and aluminum. The majority of builders will use the same materials for architraves, as they do for various finishing’s and moldings within the home, which gives some consistency. This generally means that the most notable structures will likely to use hardwood, whereas more modern homes will likely use Softwood and MDF.
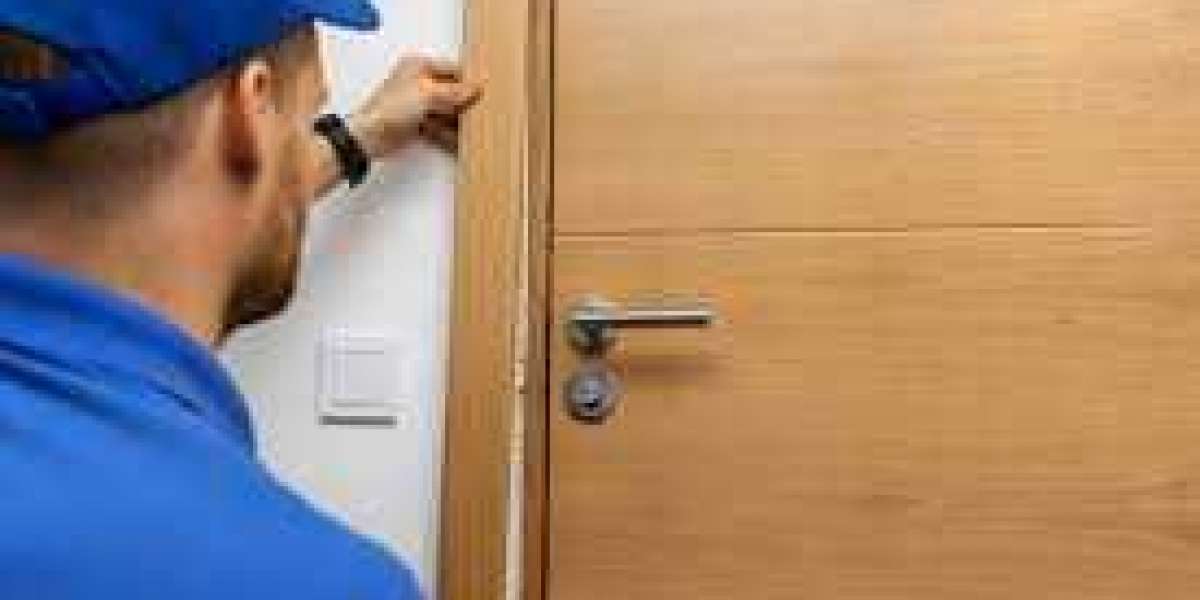
Installing architraves is a process which must be done with care for the best end result. Before you begin, it's in all cases advisable to ensure you have everything you need for the project ready and in your possession. This includes equipment as well as any type of cement sealants and cement, as well as the various lengths of architrave that might require. The most commonly used methods that Timber merchant adheres to are:
Mark the edges
The architrave must be separated by an edge on the outside of your jamb. This could be as long or as small as you'd like, but generally , 5-10mm will be a secure distance since you'll be left with a part from the door jamb in the back to screw into.
After estimating, draw a line on the casing with the soul level as well as a pencil. Make crosses around the corners to determine where you'll need to cut. Making sure you are mitering correctly is more important than the edge. Incorrect mitering may leave holes and fillers could be needed, which will be seen once the paint has dried.
Cut and measure your lumber
After you have your estimations for the door jamb established Cut two pieces of the architrave you want to use to form your leg (longest lengths) of the door jamb, aiming to have enough left over to be able to miter. The norm is 2.1m however, always verify before cutting. The upper part of the entranceway needs be cut as well in consideration of the need to miter.
Make the main leg work
This is where it all comes down to individual preference for inclination. Some people will cut and then fix the headpiece first then measure from the floor to determine legs. The main problem with this is that it could make it difficult to get your mitered joints to fit perfectly which means you'll require filling the joint or elevate the legs, and this could create an issue with your floor surface.
Next, put on the other leg at the point where it is supposed to be to the floor, and then move the cross that was recently put aside in the jamb of your door the edges of the architrave. The architrave is then cut at a 45-degree angle upwards from the cross.
Once you're satisfied by the cutting, attach both legs to the casing by using the newly drawn markers using the PVA cement on the back of the architrave so that it will touch the door jamb , and 6 to 7 evenly separated forty millimeter oval-shaped head nail. Use a nail-punch for "cover" the nail and afterwards, occupy the space to be painted and ensure to ensure a uniform finish.
Make sure the next leg is fixed
Similar to the primary leg that the cycle is equivalent to the final leg that has not yet been rotated. Therefore, the slices should be arranged between left and right rather than the option of going from left to right and vice the reverse.
Cut and replace the headpiece
The process of cutting the headpiece is basically similar to cutting the legs, however when you cut this piece both sides are cut. it is recommended to make estimations of the edge outwardly and miter at 45 degrees from an outside perspective.
If all goes well it is expand into the space above the entryway easily. If it isn't completely arranged, a tiny shift in the edge of the miter will ensure a better fitting. Similar to those legs will later be by cement or similarly separated nails like previously.